Setting up a home workshop with the right saw means choosing tools that match your DIY wood projects, space, budget, and safety needs. It is not about buying every tool. It is about selecting the correct saw for the type of cuts you plan to make and organizing your workshop setup around efficiency and safety.
Many beginners rush into buying tools after watching online videos. They spend money on large machines without understanding what they actually need. Later, they realize their projects require different cutting capabilities. That leads to wasted time, wasted budget, and frustration.
A proper workshop setup starts with clarity. What are you building? Small shelves? Cabinets? Outdoor furniture? Decorative items? Each project category requires different cutting precision and power. The saw is the heart of your woodworking space. When you choose it correctly, everything else becomes easier.
In this guide, you will learn how to select the right saw based on real use cases, how to organize your space around it, and how to avoid common mistakes that slow down progress.
Why Is Choosing the Right Saw Critical for DIY Wood Projects?
The right saw determines accuracy, safety, speed, and overall project quality.
Problem: Many DIY enthusiasts struggle with uneven cuts, material waste, and safety risks. According to data from the U.S. Consumer Product Safety Commission, thousands of workshop-related injuries occur annually, many involving improper saw use or incorrect tool selection.
Agitation: A poor cut can ruin an entire board. A misaligned saw can destroy measurements. Repeated errors increase material costs. Over time, frustration leads to abandoned projects.
Solution: Choosing the correct saw for your intended use reduces errors and increases efficiency. In a 2023 small workshop case study published by a regional makerspace group, hobbyists who upgraded from basic hand saws to properly selected power saws reduced project completion time by nearly 30% and material waste by 18%.
The takeaway is simple: the saw is not just another tool. It defines your workflow.

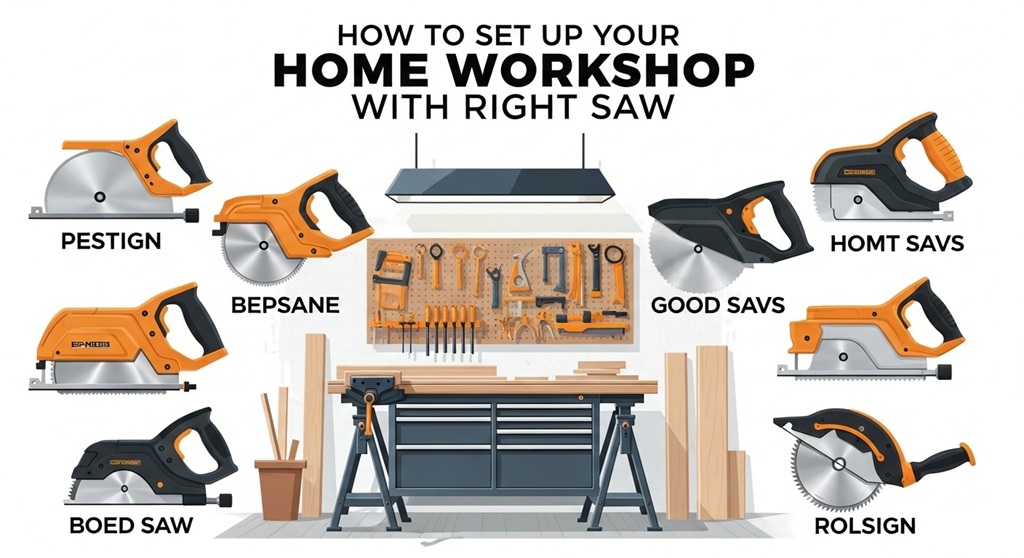
Which Types of Saws Are Essential for a Home Workshop Setup?
The most essential saws for a home workshop are circular saws, table saws, miter saws, jigsaws, and hand saws.
1. Table Saw
Best for straight rip cuts and precision work. Ideal for cabinets, furniture panels, and repeat cuts.
2. Circular Saw
Portable and versatile. Good for breaking down plywood sheets and outdoor projects.
3. Miter Saw
Designed for angle cuts. Perfect for trim work, frames, and molding.
4. Jigsaw
Used for curved and irregular cuts. Great for decorative DIY wood projects.
5. Hand Saw
Basic but essential. Useful for quick manual adjustments and small jobs.
If you are unsure which saw fits your needs, this guide on DIY wood projects explains different saw options in detail.
How Do You Choose the Right Saw for Your Workshop Setup?
Choose your saw based on project type, space availability, power requirements, and safety features.
Step 1: Define Your Project Category
- Furniture building → Table saw + miter saw
- Outdoor decks → Circular saw
- Decorative crafts → Jigsaw
- General repairs → Circular saw + hand saw
Step 2: Measure Your Space
Small garage workshops under 150 sq ft benefit from compact tools. Portable saws reduce clutter and allow flexible layout changes.
Step 3: Evaluate Power Source
- Corded saws offer consistent power.
- Cordless saws provide mobility.
- Battery capacity affects cutting endurance.
Step 4: Check Safety Features
- Blade guards
- Electric brake systems
- Riving knives (for table saws)
- Dust collection ports
A well-planned workshop setup integrates safety from day one.
How Should You Design Your Workshop Around the Saw?
Place your primary saw at the center of workflow with proper clearance, lighting, and dust control.
Layout Principles
- Maintain 3–4 feet of clearance around large saws.
- Keep material storage near the cutting area.
- Ensure stable, level flooring.
- Install overhead LED lighting to reduce shadow lines.
Dust Management
Fine wood dust affects health and visibility. Use a shop vacuum or dust collector. According to occupational safety research, prolonged exposure to wood dust increases respiratory risks. Even a small DIY workshop should include basic dust extraction.
Work Surface Integration
Align outfeed tables with your table saw height. This prevents board tipping and improves accuracy.
What Budget Should You Plan for a Beginner Workshop Setup?
A functional beginner workshop can start between $500 and $1,500 depending on tool quality and space upgrades.
| Item | Estimated Cost Range |
|---|---|
| Table Saw | $300 – $800 |
| Circular Saw | $80 – $200 |
| Miter Saw | $150 – $400 |
| Dust Collection | $100 – $300 |
| Safety Equipment | $50 – $150 |
Start small. Expand based on project demand. Avoid financing large tools before validating your long-term woodworking goals.
What Common Mistakes Should You Avoid?
Avoid overbuying, ignoring safety, skipping calibration, and neglecting maintenance.
1. Buying the Largest Saw First
Bigger is not always better. Large saws require space and experience.
2. Ignoring Blade Quality
A high-quality blade improves cut accuracy more than upgrading the machine itself.
3. Skipping Calibration
Misaligned fences lead to inaccurate measurements.
4. Neglecting Maintenance
Clean blades. Inspect cords. Lubricate moving parts.
These small steps protect both your investment and your safety.
How Can the Right Saw Increase Efficiency in DIY Wood Projects?
Using the right saw reduces cutting time, lowers material waste, and improves finish quality.
In a small workshop productivity study conducted by a community woodworking club, members who upgraded to calibrated table saw systems reported:
- 25% faster cutting cycles
- Reduced rework on miscuts
- Improved joint accuracy
Precision tools minimize trial and error. When cuts are accurate, assembly becomes easier. Projects move forward without delays.
What Safety Practices Should Every Workshop Follow?
Wear protection, maintain blade guards, and follow manufacturer guidelines.
- Use safety goggles.
- Wear hearing protection.
- Avoid loose clothing.
- Use push sticks for narrow cuts.
- Disconnect power before blade changes.
Safety is not optional. It is part of professional-level workshop setup.
Conclusion: How Do You Build a Workshop That Works for You?
Setting up your home workshop with the right saw is not about collecting tools. It is about creating a system that supports your goals. Start by defining the type of DIY wood projects you want to complete. Choose a saw that matches those needs. Organize your space for safety and efficiency. Maintain your equipment.
Small improvements compound over time. A well-selected saw improves accuracy. Accurate cuts improve assembly. Efficient assembly builds confidence.
If you are planning your workshop setup, review detailed comparisons and buying guides before making your decision. Explore trusted resources and evaluate specifications carefully.
Take action today. Assess your workspace, identify your primary project type, and invest in the saw that aligns with your long-term goals. The right choice now saves time and money later.
Frequently Asked Questions (FAQs)
1. What is the best saw for beginners?
A circular saw is often best for beginners due to affordability and versatility. It handles straight cuts and basic framing projects.
2. Do I need a table saw for DIY projects?
No. Many small projects can be completed with a circular saw and guide rail. However, table saws improve precision for furniture making.
3. How much space is required for a home workshop?
A functional workshop can operate in as little as 100–150 square feet with compact tools and proper organization.
4. Are cordless saws powerful enough?
Modern cordless saws provide sufficient power for most home projects. Battery capacity determines runtime.
5. How often should saw blades be replaced?
Replace blades when cuts become rough, burn marks appear, or resistance increases. Frequent users may change blades every few months.
6. Is dust collection necessary?
Yes. Dust control protects respiratory health and improves visibility during cutting operations.
7. What safety gear is mandatory?
Safety glasses and hearing protection are mandatory. Gloves are optional but should not interfere with grip or blade safety.
Related Topic: What Size Skateboard Wheels Are Best for Cruising?
Read Next: How to Use a Pompano Rig for Beach Fishing Successtion